Home › Maps
WARDOGS Maps — Bakurani, Ozeti & Zestafona
Season 1 Early Access · geography data from official pages and Season 1 build
WARDOGS ships three maps, each 256 km² of the war-torn region of Kolchia. Understanding the three nested scales — battlefield, Control Zone, Hot Zone — matters more than memorizing any single map, because the zone lands somewhere new every match.
Three Scales, Nested
- The battlefield (256 km²) is a logistics problem. The other 252 km² is the approach — crossing it on foot costs you the match, which is why vehicles and pilots are purchases rather than spawn options.
- The Control Zone (2×2 km) is randomized each match and is where the match is scored. First faction to 100 points wins.
- The Hot Zone is a shifting sub-zone inside it where you count double toward zone score and earn double cash — the most contested hundred meters on the map. Its position is steered by the tower code system.
Bakurani — The River Valley
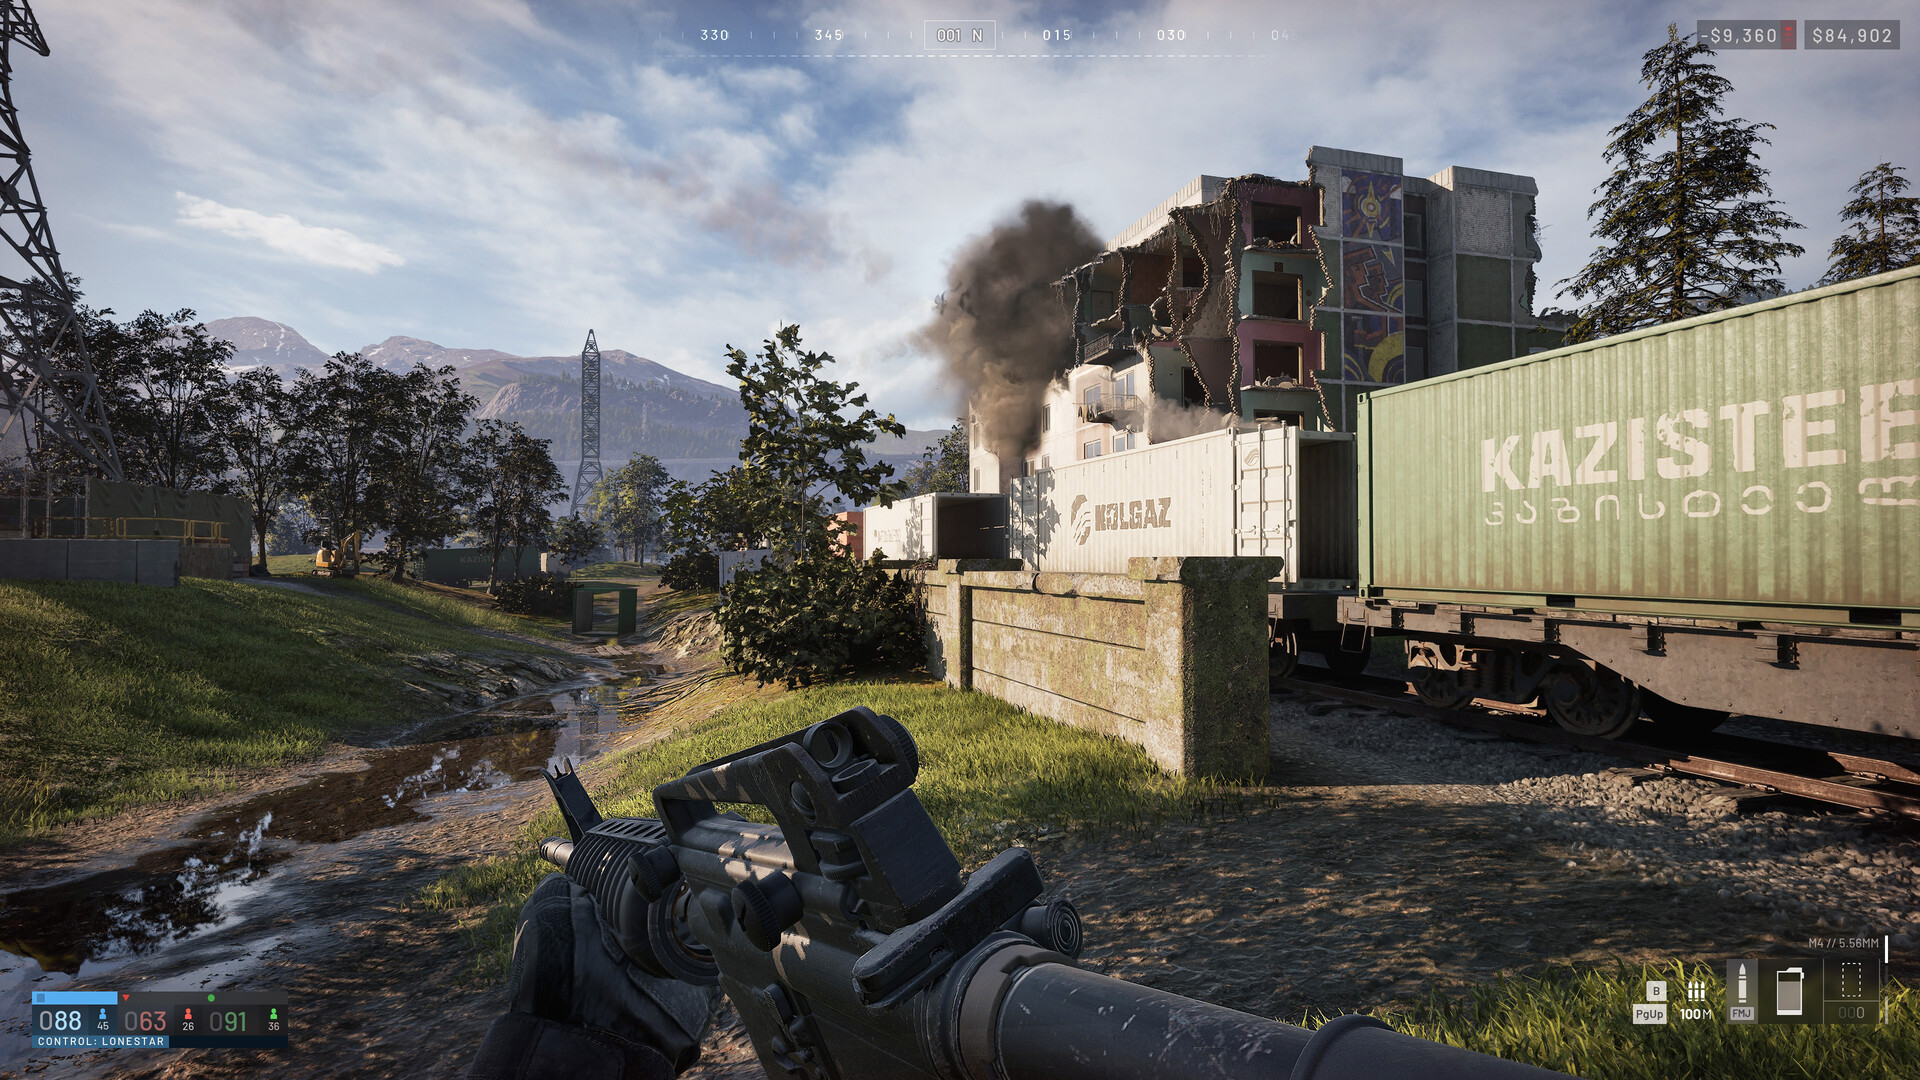
The launch map and the ground most players know best. One town holds the valley floor, cultivated parcels spread around it, and forested ridges climb steeply on both sides with dense canopy above the treeline break.
The tactical read: the valley road is the only sustained flat route across the map — which makes it both the fast way back to the zone after a death and the obvious ambush ground. Whoever holds the high ground either side of the valley holds the argument.
Ozeti — The Hill Town
Joined the rotation in Closed Beta 02 (September 3). A hill town strung along one road — low buildings, a walled stadium at one end, a church on the high ground — surrounded by orchard, dry fields and scattered pine. Internally built as a Western Europe setting.
The tactical read: cover is walls, treelines and terracing: thick once you're inside the town, close to absent on the open approaches. Getting there is the hard part; once inside, expect close-quarters work where SMGs and the SUPER-45 shine.
Zestafona — The Arid High Country
The third and most open map, arriving at or after Early Access. Irrigated field blocks follow a creek along the valley floor with scattered settlement; the surrounding ridges are bare rock and low scrub with almost no canopy.
The tactical read: cover is agricultural and man-made rather than natural, so approaches are long and exposed in a way neither other map is. Expect snipers and DMRs to set the meta here, and transport to matter even more.
Map Strategy Fundamentals
- Read the zone before buying. The Control Zone's random position changes which vehicles and weapons make sense. Check it before you spend.
- Never walk in. The outer 252 km² is a travel problem — catch a lift, take a cheap Bobcat, or hitch a helicopter ride.
- Treat the Hot Zone as a decision, not a default. Double score and double cash are real, but it's also where all three teams converge. Take it with transport, information and an exit — not because the map shows a bonus.
- Bank on the way back. Your post-death route from the safe zone is the real respawn timer; plan it like one.
FAQ
- How big is the WARDOGS map?
- Each map is 256 km² (16×16 km). The randomized Control Zone is 4 km² of it — one sixty-fourth of the battlefield.
- How many maps are there?
- Three: Bakurani (launch), Ozeti (added in Closed Beta 02) and Zestafona (at or after Early Access).
- Does the Control Zone move during a match?
- Its position is randomized per match; the Hot Zone inside it shifts during play, steered by which towers each faction holds.
- Is there a respawn timer?
- No. Travel time from the safe zone back to the fight is the death penalty, by design.
Sources: Team17/BULKHEAD official pages (map size, Control Zone, Hot Zone), BULKHEAD's 11 August devlog (respawn design), Season 1 build observations (map roster).