Home › Helicopter Guide
WARDOGS Helicopter Guide — How to Fly, Land & Get Paid
Season 1 Early Access · flight handling is build-sensitive
On a map where death costs you minutes of travel, the pilot who shortens everyone else's trip holds one of the most valuable jobs in WARDOGS. This guide covers controls, the takeoff-to-landing workflow, and how to run a transport loop that actually makes money (see the money guide for the economics).
Before Takeoff: Controls
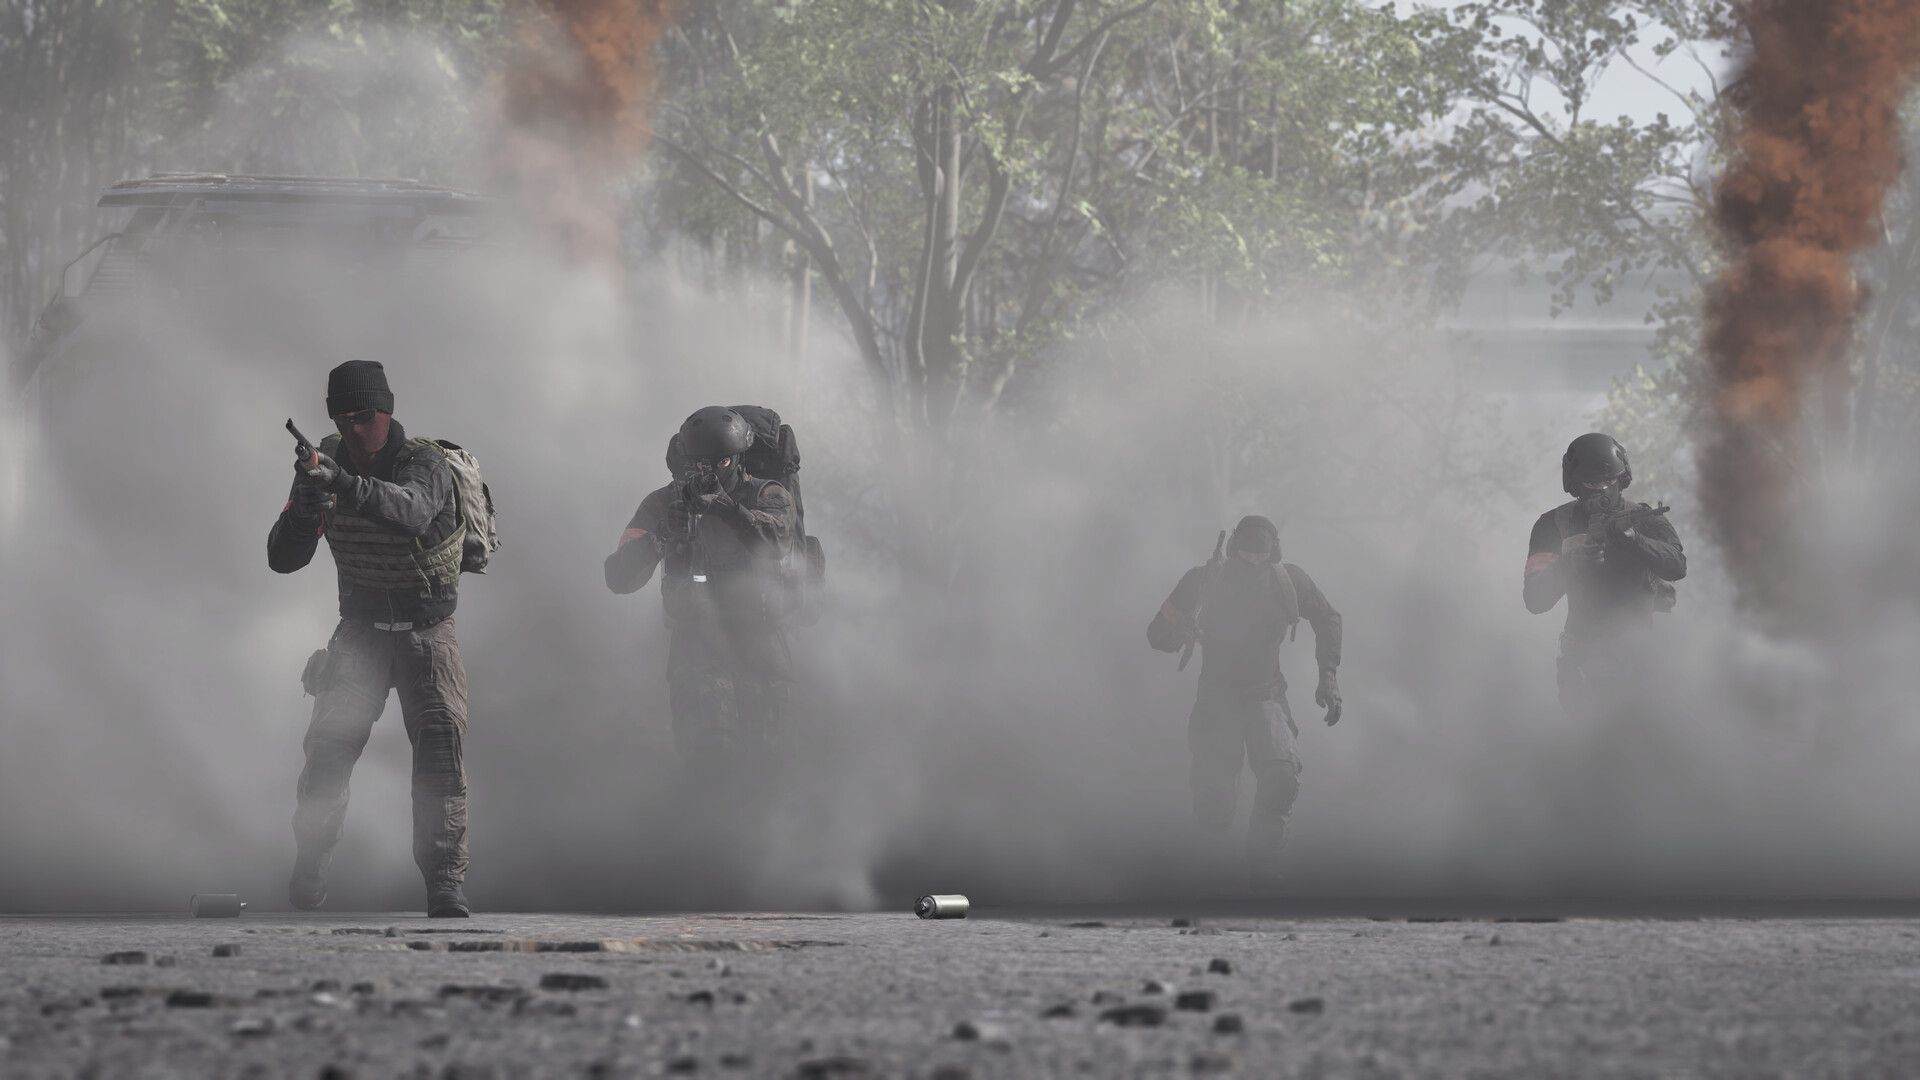
- Open the live control menu and locate: collective/throttle, pitch, roll, yaw, free look, seat change, exit — plus weapons/countermeasures if your aircraft has them.
- Remove duplicate bindings. Test every axis positive and negative while parked.
- Confirm passenger capacity, fuel, damage state, and where you can resupply or repair.
- Tell the squad where to board and where you're landing. Thirty seconds of plan prevents three passengers directing you to three different rooftops.
Takeoff and Basic Control
- Increase lift smoothly and establish a low, stable hover before adding forward movement.
- Small corrections. When nose, bank or yaw drifts too far, reduce the input — don't snap the opposite direction. Large corrections create oscillation, and oscillation near the ground ends careers.
- Climb with margin over obstacles without parking yourself as a silhouette above the whole map.
- Look through turns and keep an escape direction. The goal isn't maximum speed — it's arriving with enough control, altitude and fuel to choose your landing.
Landing: The Four-Question Gate
Before descending, ask: Is the site large enough? Is the approach clear? Can passengers exit without crossing fire? Is there an open departure route?
If any answer changes during the approach — go around. Add controlled lift, regain forward movement, climb away, reset the circuit. A go-around is not a failed landing; it's how you keep the aircraft, the passengers and your cash. Never rescue a bad final with big opposite inputs near the ground.
The Transport Pilot Loop
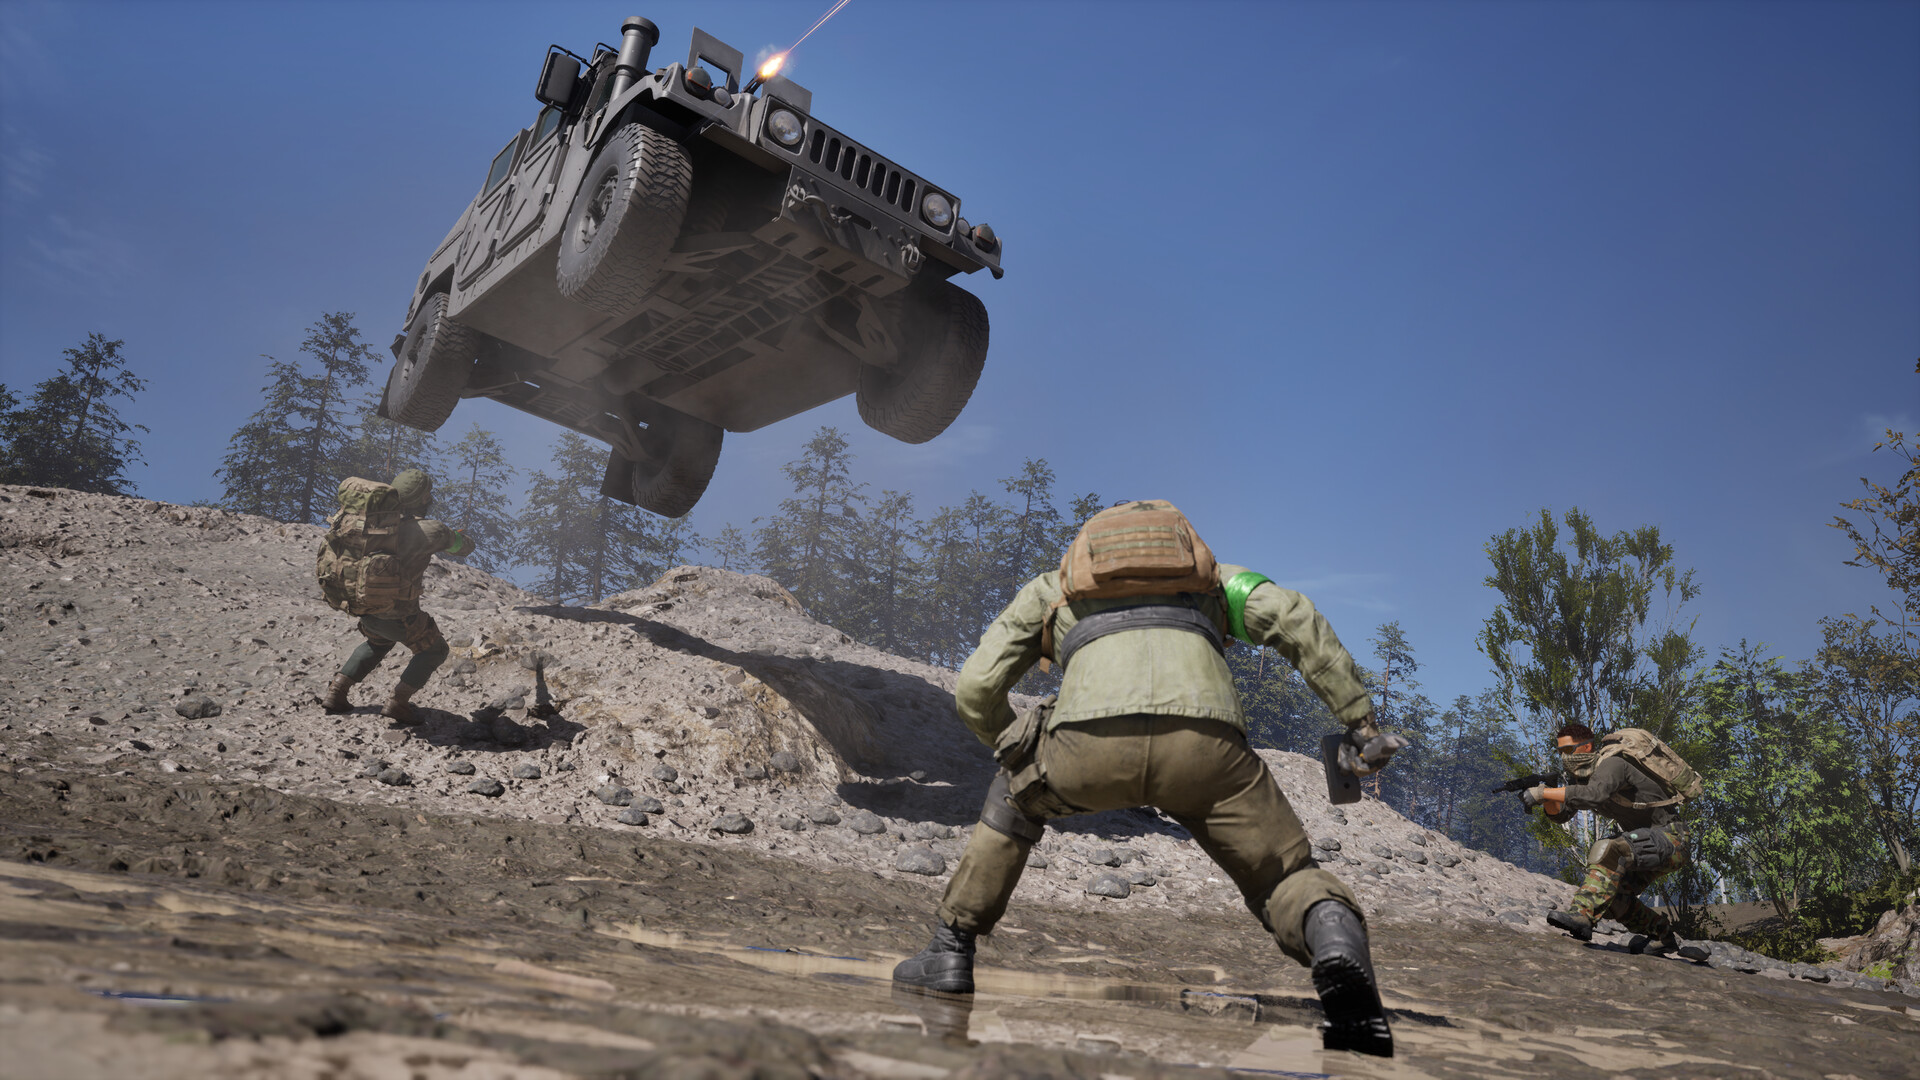
- Pick up groups, not single distant players. Announce destination before wheels-up.
- Land just outside the obvious fire lane — twenty seconds of passenger walking beats losing the aircraft and everyone in it on the objective.
- Depart along the planned route, break line of sight, and inspect the aircraft.
- Decide: another sortie? Fuel, damage and threat picture. A completed loop you can repeat is worth more than one heroic one-way run.
Fuel, Ammo and Anti-Air
- Check fuel before committing to distant pickups; keep a go-around reserve.
- Armed aircraft need compatible ammunition and a resupply plan — don't orbit until empty over enemy territory.
- Use terrain, vary approach direction, never hover stationary in the open. If anti-air wakes up, break line of sight and leave — friendly recon can help, but your exit route is your own responsibility.
HOTAS and Input Switching
HOTAS hardware works in current builds — pitch/roll axes, yaw pedals and throttle/collective are all reported functional — but treat support as build-sensitive:
- Bind axes deliberately; add only the minimum dead zone to stop drift. Verify throttle direction and yaw before takeoff.
- Some players report automatic switching between mouse/keyboard and HOTAS when entering or leaving aircraft, and bindings that reset after relaunching. If inputs jump between devices: disconnect unused controllers, clear overlapping binds, restart, and re-verify while parked.
- Keep a note of your working binding layout, and always keep mouse/keyboard available for infantry.
FAQ
- How do I stop overcorrecting?
- Reduce inputs rather than reversing them hard. Establish a stable hover first; drift is corrected with small taps, and every big correction stores oscillation you'll pay for later.
- How do I land in WARDOGS?
- Wide site, clear approach, small inputs, reduced speed early — and a go-around whenever the picture changes. Protect the rotors and tail; passengers exit after touchdown, then you depart on plan.
- Does HOTAS work?
- Yes in current builds, but detection and remapping are build-sensitive and bindings can reset. Test parked, every session.
- Is the MI-28 Havoc worth it?
- It's the max-level attack helicopter and it hits hard — but creator footage of top-crews flying it shows the same lesson: exposure control, target priority, ammo discipline and a planned exit decide whether a strong aircraft dominates or donates itself.
Sources: Season 1 creator flight guides cross-checked against current build reports (HOTAS behavior, binding resets), BULKHEAD vehicle/economy documentation.